02 Assign a CC message
03 Assign an effect parameter
04 Assign a master effect
05 Automation recording and overdub
06 Assign touchpad to smartpads
07 Assign external knobs
08 Note about analog input voltage assignments
09 Analog sync


Once they are assigned, you can perform with them in all Pyramid’s modes and submodes.
Tip You can choose to assign PER PROJECT (changing the current track will not change assignments) or PER TRACK (each track will have its own set of assignments). You can configure it with SETTINGS > MISC > ASSIGN TYPE.
To record CC messages automation or effect parameters, you must be in LIVE mode, with REC enable.
We tried to make the controller assignment process as easy as possible. If you love to play the touchpad for creating automation, it’s fast and simple to reassign the control to another CC message or effect parameter and record your performance.
Tip Once an encoder is assigned, press it to display its set value. In LIVE mode, the encoder value will be displayed on the 16 leds when rotated.
You can record automation on a track filled with notes, or on a blank track. This allows one to create tracks filled only with automation, and thus mute/unmute, and sequence CC messages and effect parameter automation.
- turn an encoder

- slide the touchpad

- plug a jack into the CV or the GATE input.
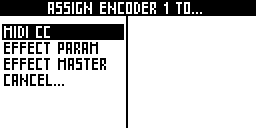
The display "assign control to..." will appear on the screen. Select MIDI CC by rotating



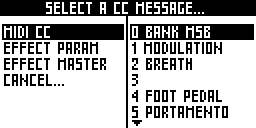
At the end of the CC list, you can find the PITCH BEND, the PRESSURE (aftertouch) and the PROGRAM CHANGE midi messages:
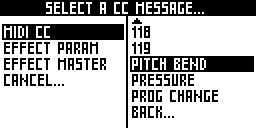
The CC message will be assigned to the current track channel and output.
You can record the automation on the current track only if:
- the CC channel (e.g. CH14) is the same as the track channel
- the output of the CC is the same as the track.
Note: as soon as you assign a CC control and move it to set the value, an automation message is created to store this value (you can display it or remove it in stepmode CC MESSAGES). This message will be sent at the start of the track, so your synthesizer will always have the right set value. You can disable this feature in SETTINGS > MISC > CC ASSIGN > AUTOREC OFF.
When an assigned encoder is moved or pressed, a popup is displayed, with the CC number (68), the CC value (111) and the CC MIDI channel (CH09A):

- turn an encoder

- slide the touchpad

- plug a jack into the CV or the GATE input.
The display "assign control to..." must popup. Select and press EFFECT PARAM with

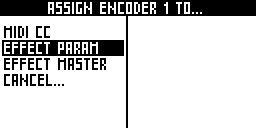
Select the effect you want to assign with

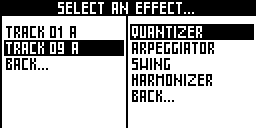
Using

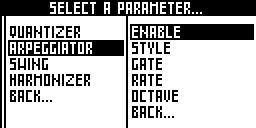
You can record the effect parameter automation on the current track only if the effect belongs to the current track.
When an assigned encoder is moved or pressed, a popup is displayed displaying the effect (ARP), the effect parameter (STYLE), the effect value (DOWN), and the effect track (01A):

You can change with a single control the Quantizer GRID, the Scale SCALE, the Scale KEY, the Chance CHANCE or the Swing PERCENT of all tracks. For example, if you assign an encoder to the MASTER SWING, the Swing parameter PERCENT will be affected on each track containing a Swing effect. We also added the Mute PROBABILITY, allowing you to change the probability (from 0% to 100%) of a muted note to be played.
- turn an encoder

- slide the touchpad

- plug a jack into the CV or the GATE input.
The display "assign control to..." must popup. Select and press EFFECT MASTER with

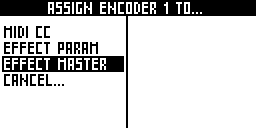
Select the master effect you want to assign with

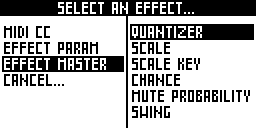
Note: you can't record master effects.
Unlike notes, automation is not recorded with overdub. That means that the player will erase existing automation step.

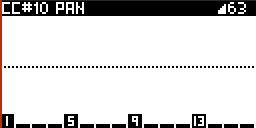
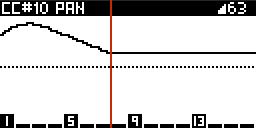
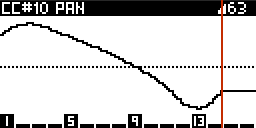
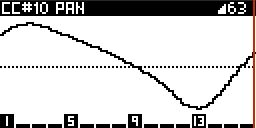

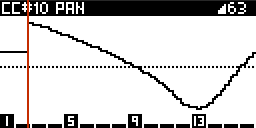
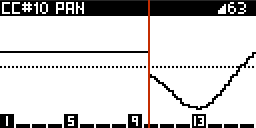
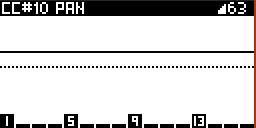


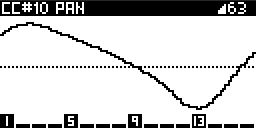
This operation applies to all CC messages, pitch bend, pressure, program change and effects parameters.
When assigning the touchpad, another option appears: SMARTPADS
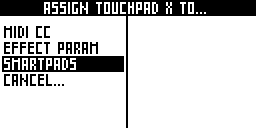
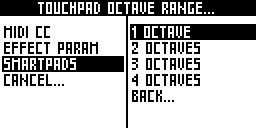
Select the octave range of the touchpad X axis:
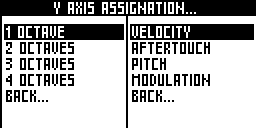
Assign the touchpad Y axis to a note parameter:
- play with chords (if LIVE smartpads = CHORD)
- play with repeats (if the LIVE smartpads = REPEAT)
- play with scales (if the LIVE smartpads = SCALE)
For example, if LIVE smartpads = SCALE, X axis = 2 OCTAVES and Y axis = VELOCITY, slide the touchpad X to play notes (in the selected scale) and the touchpad Y to change notes velocity.
You can play smartpads with the touchpad in every mode, and record your performance. Notes are always sent on the current track, so you can use some midi effects if you want.
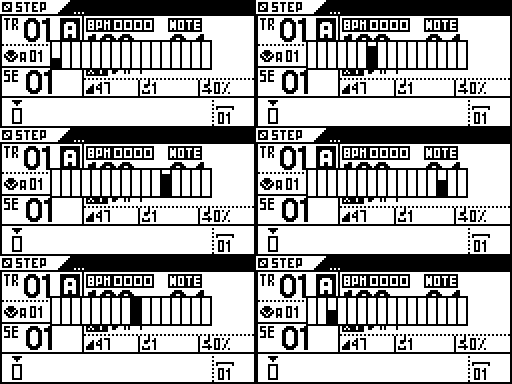
- Stop pyramid
- Hold ASSIGN
- Rotate an external midi controller knob (or an other CC message control)
You can assign the two analog stereo jack inputs (CV input and GATE input) to control in real-time CC messages and effect parameters. It's a great way to control Pyramid with your CV modules, or to create your own DIY analog controller.
The voltage (0V to 5V) will be converted to a CC MIDI value (0 to 127) or to an effect parameter value (for example the arpeggiator STYLE).
First, enter SETTINGS and select if you want to assign a mono jack or a stereo jack with CV/PEDAL > CV IN MODE = MONO ASSIGN or STEREO ASSIGN.
Hold ASSIGN and plug a jack on the input you want to assign (CV input or GATE input), the assign manager display will appear. Then select the CC message or the FX you want to assign.
You can assign the CV input and the gate input to sync Pyramid with an analog clock.
- Enable analog sync with SETTINGS > CV/PEDAL > CV IN MODE = CLOCK
- Set the number of beats (or PPQN) the player will move forward each time Pyramid receive a clock with SETTINGS > CV/PEDAL > INPUT SYNC
- Set the Pyramid tempo with BPM
Then, you can start the sync with an analog gate on the CV input. For example, you can sync Pyramid with a modular system or with an old machine.
If SETTINGS > CV/PEDAL > CV IN MODE = CLOCK+STOP, you can use the GATE input to receive an analog STOP/PLAY (low state = STOP, high state = PLAY).
If SETTINGS > CV/PEDAL > PEDAL HOT = CLOCK, you can sync Pyramid "manually" by pressing your pedal.


